

In the previous post we have created a simple spring boot application. This application was very simple application just getting request and showing page for requested URL. Currently all urls are open to all user that is we do not have any kind of authentication on the URL. Our spring boot application is like the open pool in which any one can come and start fishing. Now we want to secure our application so that only authenticated user will be able to visit secure part of the application. For this purpose we will be using the Spring Security.
Scope of this tutorial.
In this we will learn basic integration of spring security with spring boot.
NOTE: This tutorial will just contain only basic integration of spring security. If you haven’t gone through previous tutorial and you are the newbies to this spring boot then I will request you to go through previous post to get understanding of spring boot.
Now lets get started with the configuration.
If you do not have the previous code you can check the code on github from this link
1. Add Dependency to your pom.
Update your “pom.xml“ with this dependency this will add “spring-boot-starter-security”.
2. Build your application.
Now run command “mvn clean install”, This will add following three jar into your build path. This “spring-boot-starter-security” has child dependencies which are listed below. We do not have to add all these dependences explicitly to enable spring security.


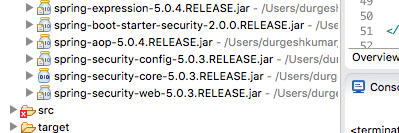
- Spring-security-core
- Spring-security-config
- Spring-security-web
- Spring-boot-starter-security
3. Run the spring boot Application.
Run application after build is successful as spring boot application. Now look into the console you will find something like this saying “Using generated security password: 38aa4264-efd8-4694-b2e7-0776e774b741” .
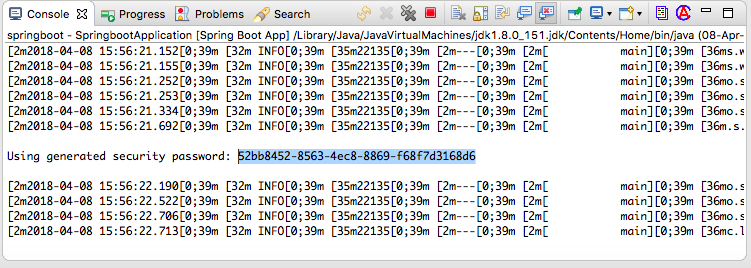
This is the password generated by the spring security. For authentication purpose, Spring security generate a random password and encrypt it at the start of the server. This password can be used by user to login through the authentication form provided by the spring security.
By default seeing security have “user” as default username which needed to be provided as user name in login form.
4. Visit any page of your application
Try to visit “localhost:8080/index” which is configured in controller. When ever you will try to visit this page we will be redirected to default login page provided by spring security.
5. login to your application.
This login page is configured at this url “localhost:8080/login”.
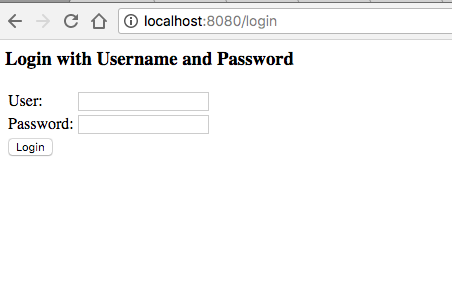
Now provide user name as “user” and password as “encrypted password displayed at console” and click on login. Now you are successfully authenticated and you can visit any part of the authenticated url of this application.
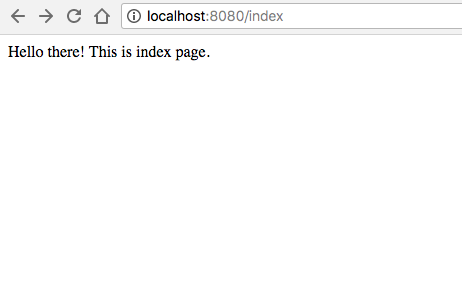
Try visiting “localhost:8080/index” you will get following result.
NOTE: You can check the code from git hub.
Guy’s, this is very basic configuration of adding spring security to our spring boot application. This configuration will not take us any where but this is the starting point of our application. In next post we will see how this configuration works.
